Learn Access Now! Chapter 14 Previous Section in Chapter 15 Next Section in Chapter 15 Chapter 16
Chapter 15: Importing and Exporting Information
(This is section 2 of 3 in this chapter)
Preparing Information for Other Databases
Access doesn't limit you to just importing information. You can also export Access data to other file formats. In Chapter 11, "Using Your Data with Word and Excel," you learned about one way you can export data; there are many other ways, as well.
To begin, use the Database window to choose the object you want to export. Then select the Export option from the File menu. Access displays the Export dialog box, as shown in Figure 15-19.
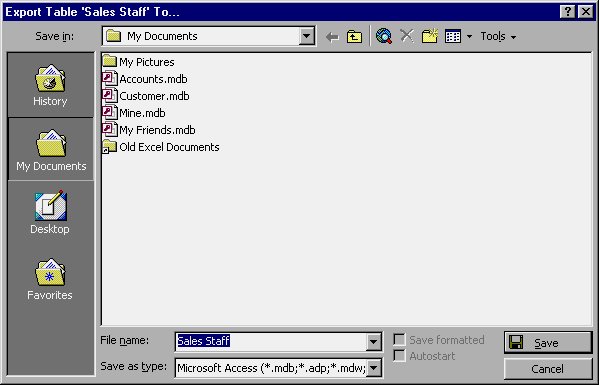
Figure 15-19 The Export dialog box.
Besides specifying a file name and location for what you are exporting, you use this dialog box to indicate the format which Access should use for the export. This is done by using the Save As Type drop-down list at the bottom of the dialog box.
Many of the formats in the drop-down list may look familiar if you already worked through the earlier part of this chapter. You may want to refer back to Table 15-1 to see what the formats mean. There are actually quite a few more formats in the Export dialog box, but most of the differences between the export and import formats are related to the version of the file being created. For instance, the Import dialog box has one selection for Excel files, but the Export dialog box has four. The difference lies in the version of Excel for which the export file is created.
You should select the export format from the pull-down list that represents the format into which Access should copy your data. After you select a format, click on Save. For most export formats, Access immediately creates the file. A couple of formats (described in the following sections) require a bit more information before Access can finish the export.
Exporting to Microsoft Access
If you choose to export to a Microsoft Access format, you need to select the name of an existing database in the Export dialog box (Figure 15-19). Effectively, all exporting to Access does is to copy a table or a query from the current database to another one. After you pick the database to receive the object, Access asks what you want to call the object, as shown in Figure 15-20.
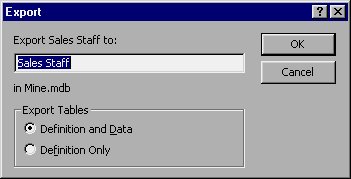
Figure 15-20 You need to pick a destination name.
You can change the object name, if desired. You can also specify at the bottom of the dialog box exactly what gets exported to the database you selected. When you click on the OK button, Access copies the object to the database you selected.
Exporting to a Text File
You learned earlier in this chapter that there are two general types of text files you can use with Access: delimited text files and fixed-width text files. You can export your data to either one. When you choose to export to a text file, Access starts a Wizard, displaying the dialog box shown in Figure 15-21.
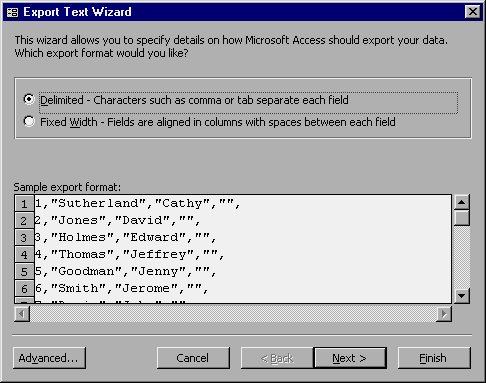
Figure 15-21 The Export Text Wizard.
The choice you make in this dialog box determines the questions you will see in the successive boxes. If you worked through importing a text file earlier, you will feel right at home in exporting them. The dialog boxes are very similar.
- If you choose to export to a delimited text file, you are asked to specify what character (or characters) to use for the delimiters. You are also given the opportunity to include field names in the first row of the data exported.
- If you are exporting to a fixed-width text file, you can only specify the width of each column in the file being created.
When you click your mouse on the Finish button, Access exports the information according to your specifications. When the export is completed, Access displays a dialog box informing you it is finished.
Learn Access Now! Chapter 14 Previous Section in Chapter 15 Next Section in Chapter 15 Chapter 16